Bow Immersion
|
Come to the beautiful Sunshine Coast in British Columbia and submerse yourself in all things bows. This the perfect option for those who would have to travel to a workshop - or those who want a fuller experience.
This is an 7 day workshop which includes:
|
April 21-27, 2024: Full - wait list
May 5-11, 2024: Full - wait list June 2-8, 2024: 1 spot left July 7-13, 2024: Full - wait list September 22-28, 2024: 1 spot left qathet, BC (Powell River) |
Course DetailsThe workshop run 9am - 4pm each day.
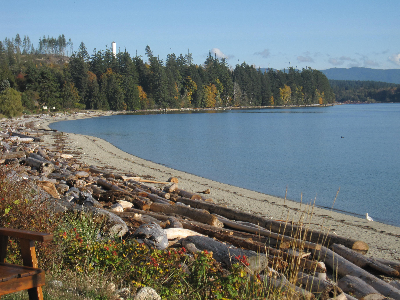
Location: Powell River, BC We are located 20 minutes south of Powell River. We have a shooting area on the property. We are a 3 minute walk from a beautiful beach (Palm Beach Regional Park) and only 15 minutes to some beautiful swimming holes at a local river (Eagle River). The town connects easily to Vancouver with flights or is approx. 4 hours of travel (combination of driving and ferries). International flights also land in the Comox Valley which is a 1.5 hour ferry ride away (no driving). We are able to transport from the ferry terminal or airport. Tuition Bow Immersion - 7 full days of instruction Course Fee: $1400 Deposit of $200. Balance due 2 months prior to start date. Lodging We are happy to provide you with a list of lodging options located within walking or short driving distance. We are about a 20 minute drive from town which has lots of other lodging options and everything else you'd expect in a town. |
Build a Yew Wood Bow
Select a yew wood stave
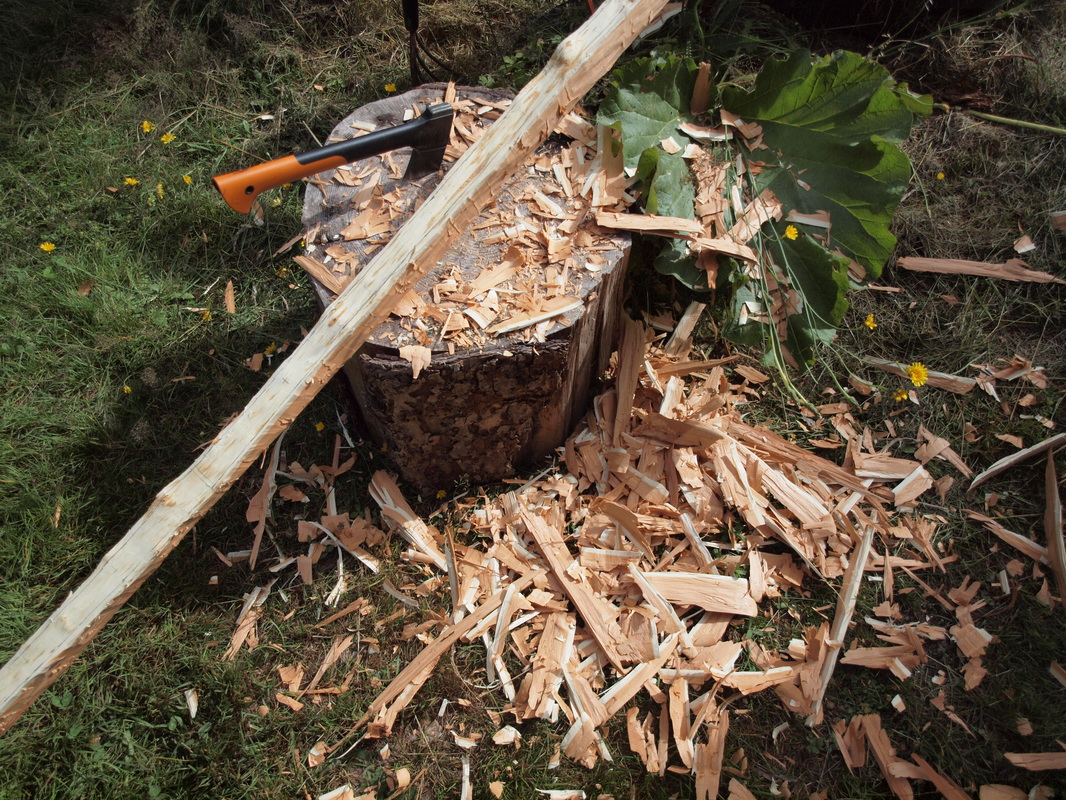
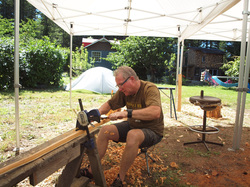
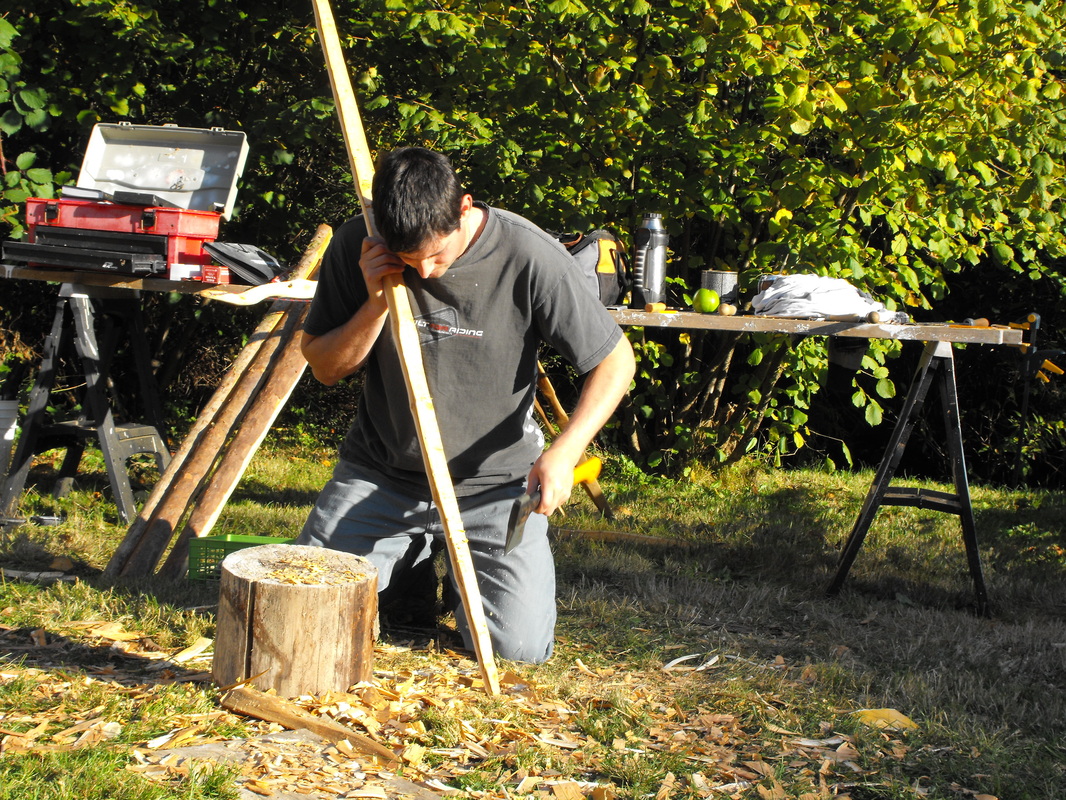
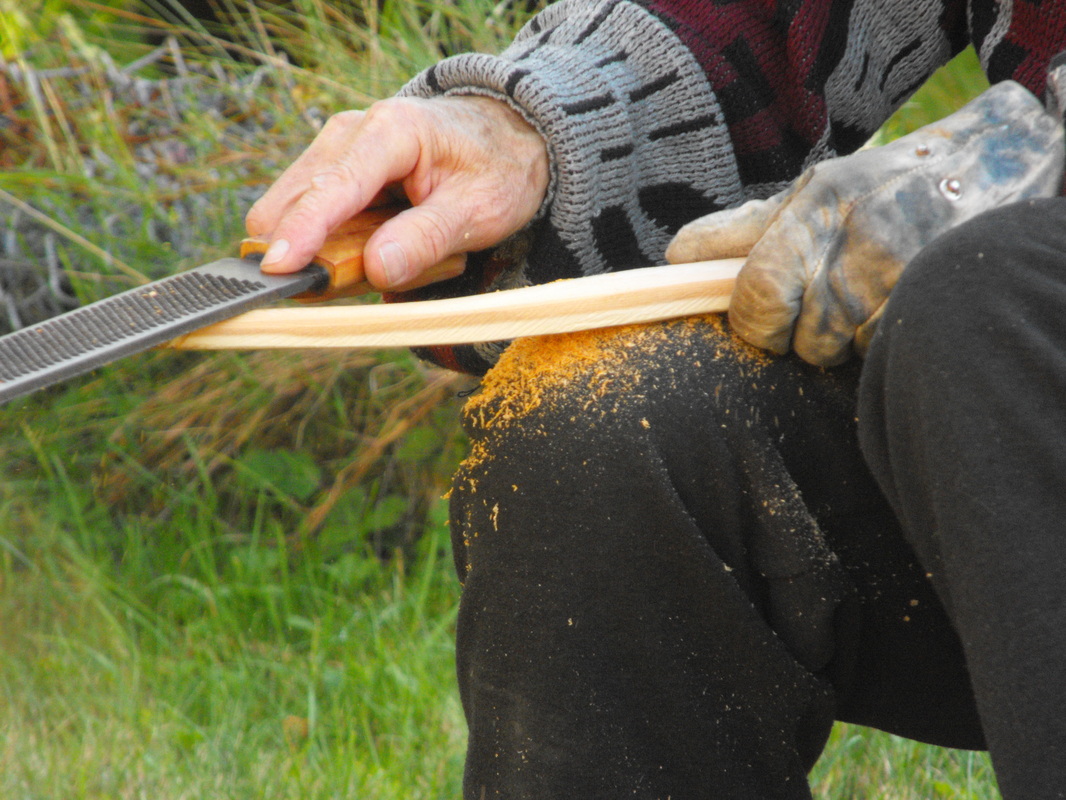
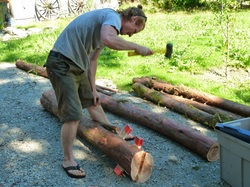
You will choose a stave from those we have on hand that have been split and seasoned in preparation. These staves are harvested with respect from local forests. Ideal trees split near the base and create multiple leaders. This allows a leader to be harvested without killing the whole tree. These often have one side that are clear from branches, which means less knots to work around. Branches are also harvested if the tree is large enough. Every stave offered in the workshops has solid bow potential. Teaching includes how to work around individual characteristics presented. Process stave Processing starts with debarking the stave using knives and scrapers. Once through the outer bark and cambium the outer sapwood is revealed. On this you will draw the outline for your bow. Using a hatchet, wood is removed to the rough outline. The next step is using a ferrier`s rasp to work down until a long tillering string can be put on. Tip overlays Tip overlays are offered during this week. They offer some added strength to the tip, where there is some wear and tear from the string. The overlays can be of yew wood, horn, antler, or hardwood. Tiller bow The tillering process is when the bow is being placed on a tillering stick - basically a piece of wood which holds the strung bow, where a pulley and weight are attached. You can pull the rope, stand back, look at the shape the bow is taking, see how heavy and at what length the pull is. This is a critical process where you will receive support in understanding specifically where to be working the bow further. Scrapers are also used in this process when the wood needs smaller adjustments. In the immersion option you will also learn how to put recurves into your bow (if you want). This adds some speed to the bow and is also visually appealing to many. Flemish twist bowstring This is taught as you move from a long to a short tiller string. It uses a special jig with multiple strings spliced and cordaged together. Make a second one to bring home as an extra. You will also learn how to serve a string during this workshop - this creates a reinforcement where the arrow nock rests adding life to your string. Finishing Once the bow has achieved its final pull/weight combination it can be sanded. Here is where we get into some fun options in the longer course. Backing a bow can add strength and resilience and we have a few different options: silk, rawhide, or snakeskin (there is an additional charge for the actual skins). You could also learn about sinew backing, though this usually requires about a month for proper application. Finishing options after this point include shellac, true oil, tongue oil, or a polyurethane depending on what you like or a looking to do with the bow (and what kind of maintenance you want to keep up with). At this point a handle may be put on as well (or you can leave the bow with a wood handle). Leather/suede is most common with perhaps some padding underneath. |
Make a Dozen Arrows
Shafting
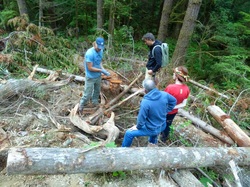
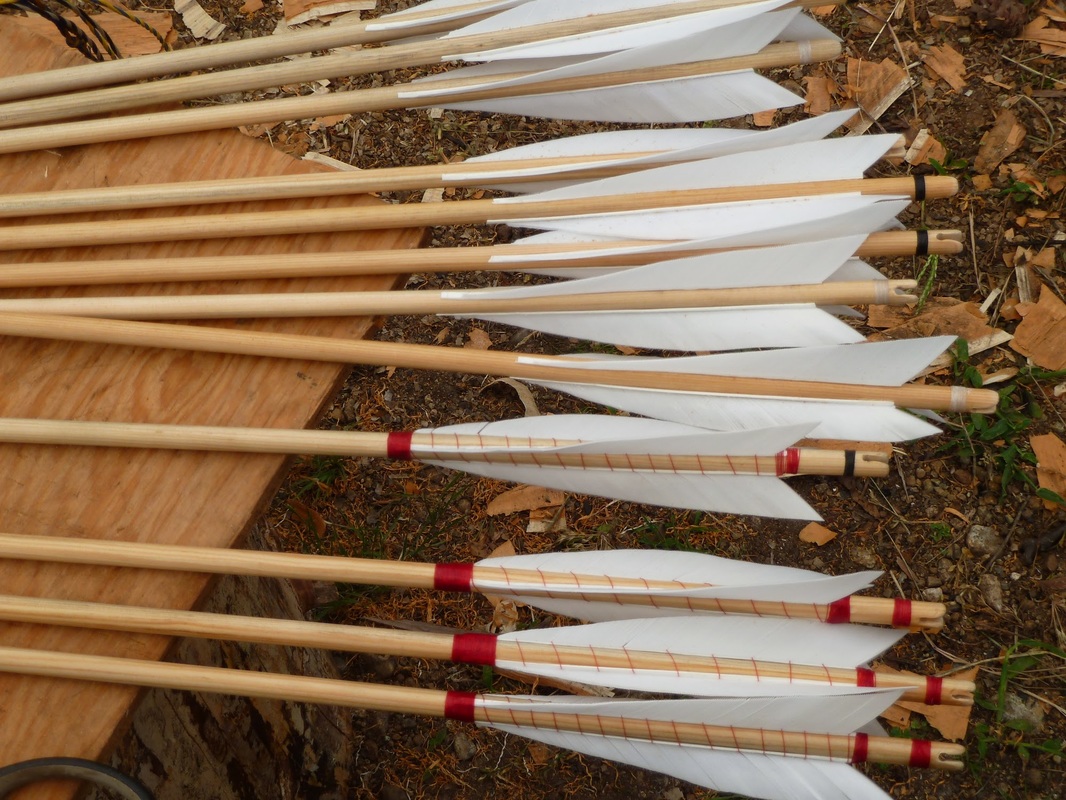
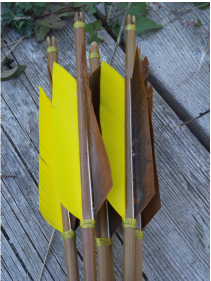
We work with bamboo shafting and you will learn about spining and grouping for weight. You may also have an opportunity to harvest shafting from local sources, Oceanspray Creambush (native). Once harvested shafting should be dried then needs to be cleaned up, straightened, and sanded. Nocks In this workshop you will learn how to make self-nocks - where the nock is cut into the shafting instead of using a glue-on plastic nock. Nocks are reinforced using silk thread or sinew. You could also try your hand at making reinforced nocks using horn, antler, or a hardwood. After your nocks are cut you can stain and seal your shafts. Fletching You can choose to use fletching from Turkey - these feathers are all split and ground or from harvested feathers we have on hand - these you will learn how to split and grind yourself. From here feathers need to be cut to desired length and trimmed to desired shape. You may also choose to use a style that does not cut the feathers, but rather ties them on as is. Feathers are secured to the shafts using a fletching jig, which allows for a left helical, or hand glue/tie on. Points There are a variety of choices for the points. We have pre-made points (such as field points, small game blunts, judo points, broadheads, bodkins, and rubber blunts) or you can choose to try your hand at making your own (hardening steel and making trade points or knapping some obsidian for a more traditional point). Points can be glued on or tied with sinew. |
|
|

